Merchant Support Centre - Help and Advice - NAB
Most popular searches
Here you'll find common search queries. Select a topic below to learn more.
Important information for your business
Learn more about your merchant fees and charges, keep updated with the latest changes to rates and fees and access the latest Merchant Agreement.
Merchant Agreement
Read the NAB Merchant Agreement to learn how it applies to your business.
EFTPOS merchant fees and charges
Learn about EFTPOS merchant fees and charges for business operators.
Information about surcharging
Learn about how the RBA surcharging standard applies to your business.
VISA and Mastercard interchange rate changes
Find the most recent interchange rate and structure changes.
Help and support Support for your payment terminal solution
Learn more about your payment terminal solution – get step-by-step instructions for performing everyday tasks, and see our troubleshooting guides.
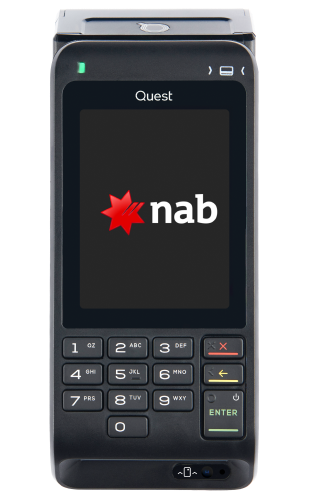
Quest QT850
Quest QT850 terminal
Quick view:
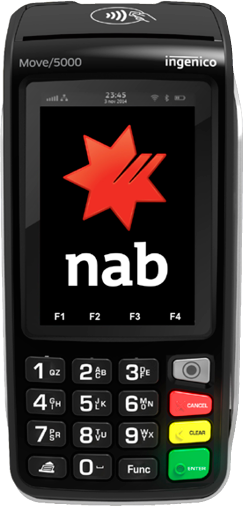
Ingenico Move/5000
Ingenico Move/5000 terminal
Quick view:
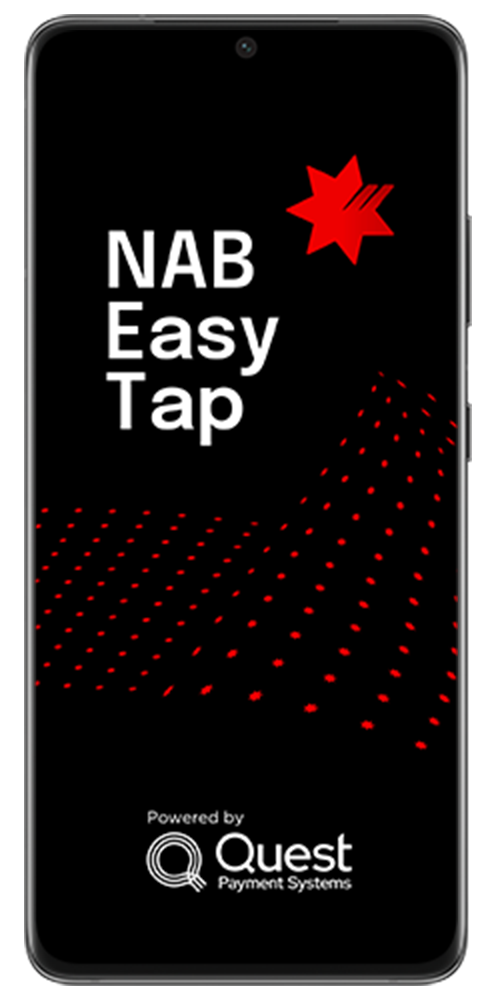
NAB Easy Tap
NAB Easy Tap payment app
Quick view:
Tips Business resources for merchants
Resources for merchants including information about choosing EFTPOS, guides for taking payments, industry-specific help and advice, security tips and more.
Enhance your setup
How to take payments on your phone
Discover simple, secure ways to take payments on the go using digital wallets and mobile apps.

Same day settlement
Make it easy for your customers to pay their bills with our range of billing solutions.

Prepare your small business for cashless payments
Read our guide on how you can prepare your business for cashless payments, to make it easier for customers to pay.

How BPAY® works
Learn how BPAY works and how you can use it for your business.

How a direct debit works
Want greater certainty with your payments? Direct debit helps you get paid on time.

Choose the right EFTPOS machine for your business
Learn how to choose the right EFTPOS machine for your small business.

How to set up an EFTPOS machine for your small business
Find out more about setting up an EFTPOS machine for your business.
Security and fraud
Protect your business from card fraud and payment scams
Learn about card and payment fraud and simple steps you can take to protect your business.

Preventing and handling chargebacks
Find out more about chargebacks and how to avoid them.

How to reduce Card Not Present fraud
Learn about the new industry-wide approach to card not present fraud.

Protecting your business online
Online fraud is a real risk to your business. Find out how you can reduce your risk with 3-D Secure.

How to boost online security for your business
Our top five internet safety tips to help you protect your business.

Securing your EFTPOS terminal and protecting your business
Learn important tips on how to protect your EFTPOS terminals that will help you secure your business.
Troubleshooting and guides

What is EFTPOS?
Learn about EFTPOS and how it works.

A guide to portable EFTPOS machines
Read our guide on portable EFTPOS machines and how they could help your business and customers.

Get to know wireless, portable and mobile EFTPOS machines
Read our guide on understanding the differences between wireless, portable and mobile EFTPOS machines.

Get to know your Integrated EFTPOS terminal
Learn more about the Ingenico Move/5000 EFTPOS terminal.

Ingenico troubleshooting guide
We have answers to common questions about your Ingenico terminal with short video guides and more.

Virtual terminals: a guide for merchants
Learn how to use virtual terminals to process customer payments securely and efficiently.
Understanding fees and charges
EFTPOS merchant fees and charges
Learn about EFTPOS merchant fees and charges for business operators.
Reserve Bank of Australia surcharging standard
Learn about how the RBA surcharging standard applies to your business.
Changes to interchange fee structure and rates
Find the most recent interchange rate and structure changes.
Interchange category definition
Definitions of credit card scheme interchange category terms
Understanding merchant fees and EFTPOS machine costs
Read our guide to the types of merchant and EFTPOS fees.
Banking to suit your needs
We back businesses with solutions to make your banking as easy as possible.
NAB Connect - Our award-winning platform
NAB Connect is a powerful online banking solution that gives you total control over your business.
Business credit cards
Earn rewards points and manage business expenses with our range of business credit cards.
NAB Business Everyday Account ($0 monthly fee)
Only pay for what you need, with this transaction account with no monthly account fee.
Contact us
Contact a transactional banking specialist
Need help with your business banking? Call us on 1300 338 767
Prefer to speak a language other than English? Learn more about our interpreter services.
If you're d/Deaf or have difficulty hearing or speaking on the phone, the National Relay Service can help.
24/7 Terminal support
Call us for terminal support 24/7.
eCommerce and Online support
Call us for NAB Transact support Monday to Friday, 8:00am to 8:00pm (AEST/AEDT)
Call us for NAB Gateway support Monday to Friday, 8:00am to 6:00pm (AEST/AEDT).
Interpreters available
Do you have limited English or prefer to speak in a language other than English? When you call us, just say “I need an interpreter” and we’ll arrange for someone to help with your enquiry.
If you don’t see your language listed, please ask us for help to find someone who speaks your language to help with your banking.
National Relay Service
If you’re d/Deaf or find it hard to hear or speak to hearing people on the phone, the National Relay Service can help. To contact NAB give our phone number 13 22 65 to the National Relay Service operator when asked.
Important information
Apologies but the Important Information section you are trying to view is not displaying properly at the moment. Please refresh the page or try again later.
BPAY® is registered to BPAY Pty Ltd ABN 69 079 137 518.